 About Us
 Services
 Sectors
 Case Studies
 Blog
Blog Contact
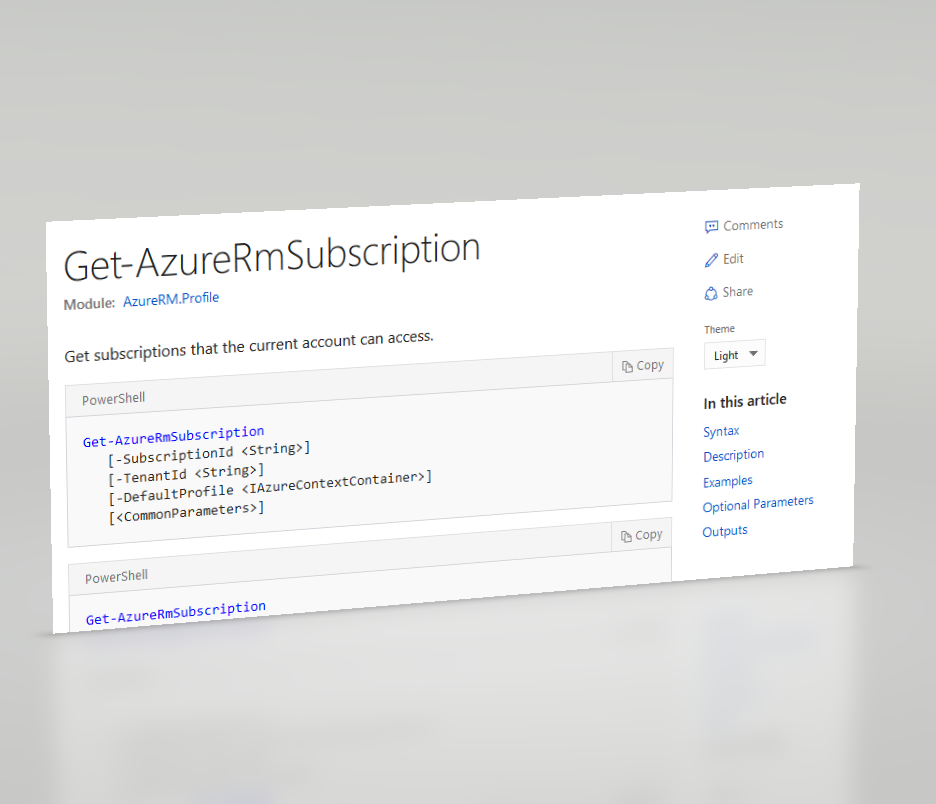
How to contribute to Open Source documentation
Date: Wednesday, November 8, 2017
Microsoft's contributions to the Open Source Software world have ballooned over the past few years, to the point where they now have the most GitHub contributors of any organisation. It's easy to find opinion pieces about how Microsoft are shifting their focus to Open Source. Plus, it's a two way street, so we (the users) can now suggest changes to some of our favourite software.
Individuals can even contribute to the documentation for most of Microsoft's new tools. There is an immense power behind this democratisation, because users can now fix incorrect docs instead of having to put up with them (or waiting for the Monolithic Corporation to get round to fixing it themselves).
Now, I know that getting into Open Source contribution can be challenging and daunting. So I am here to show you that it can be easy! If you want to play along at home, you should set up a GitHub account, it's totally free.
What to fix
The other day I found myself puzzled at some Azure PowerShell docs which appeared to be wrong. I noticed in the side bar was an 'Edit' button. Clicking it took me to the file in GitHub which ought to be changed.
I wasn't sure how long this had been wrong (that is, in what versions), and it is also considered good form to open an "Issue" before trying to contribute anything yourself. So I opened a GitHub issue about the incorrect docs. Somebody from MS got back to me within 4 hours! The next step was to fix it!
How to fix it
Documentation is a great place to start contributing to open source, because you don't need to know anything about any programming language.
GitHub makes this really easy as well; rather than having to download the Git toolchain and the "right" text editors, you can edit online in your browser and GitHub will do all the fancy Git stuff for you in the background.
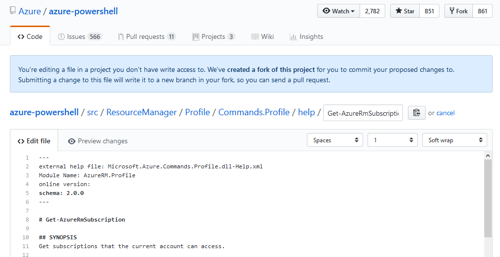
I made my changes in this web editor and clicked the green button to commit my changes to my copy (fork) of the repository. After this, GitHub suggests the next step; to create a Pull Request.
Pull Request
The Pull Request (PR) comes with a template which must be filled in by typing an 'x' in the tickboxes and filling in a description. I just copied and expanded my commit description for this bit. You can also tick the boxes later like normal web checkboxes instead of 'x'ing them here.
On this Microsoft project, I had to go through a small hoop to sign their "CLA" which states that I am free to contribute the work and that it is my work.
Now we wait!
The scary bit is over - congratulations if that is your first PR. My advice now is this:
- Be humble, and "do not despise small beginnings"!
- Don't expect your PR to be merged right away;
- Also, don't feel bad if it isn't accepted first time; you might have to go back and iterate on it;
- Keep trying: on the same project, on other projects, on anything where you feel you can make a positive change;
- Make small changes - I have made spelling and grammar corrections to a project's README, and trivial changes to a HTML template before;
- Start some (more) open source projects of your own and build empathy for what it feels like when people want to change a project you own.
I hope this post helps you get into contributing to OSS through docs. Relax and enjoy social coding!
Posted under: Microsoft Open Source How-To
Browse all tags- Share:
-


